Azkaban is a distributed Workflow Manager, usually used to solve the problem of hadoop job dependencies.
1. Install
Download the latest azkaban(4.0 now) from https://github.com/azkaban/azkaban/releases. extract the tar ball, enter the source folder, run ‘./gradlew build’.
I got an error:
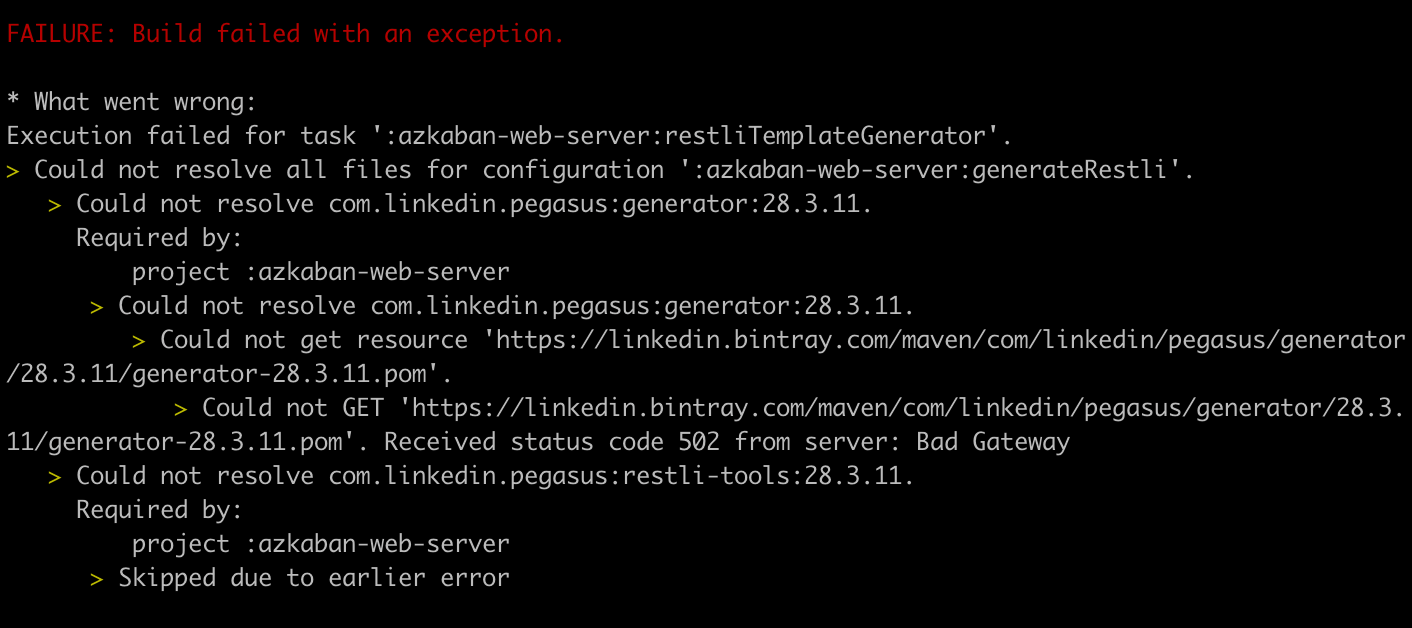
Change the repositories url to ‘https://linkedin.jfrog.io/artifactory/open-source’ in build.gradle:
1
2
3
4
5
6
7
8
  repositories {
    mavenCentral()
    mavenLocal()
//  need this for rest.li/pegasus 28.* artifacts until they are in Maven Central:
    maven {
      url 'https://linkedin.bintray.com/maven'
    }
  }
Then, build again, and run ‘./gradlew installDist’.
Finally, run the following commands to start solo server:
1
2
Downloads $ cd azkaban-4.0.0/azkaban-solo-server/build/install/azkaban-solo-server/
azkaban-solo-server $ ./bin/start-solo.sh
Open azkaban service in http://localhost:8081, login with initial username/password azkaban/azkaban, which you can edit config file.
1
2
3
4
5
6
7
8
azkaban-solo-server $ cat conf/azkaban-users.xml
<azkaban-users>
  <user groups="azkaban" password="azkaban" roles="admin" username="azkaban"/>
  <user password="metrics" roles="metrics" username="metrics"/>

  <role name="admin" permissions="ADMIN"/>
  <role name="metrics" permissions="METRICS"/>
</azkaban-users>
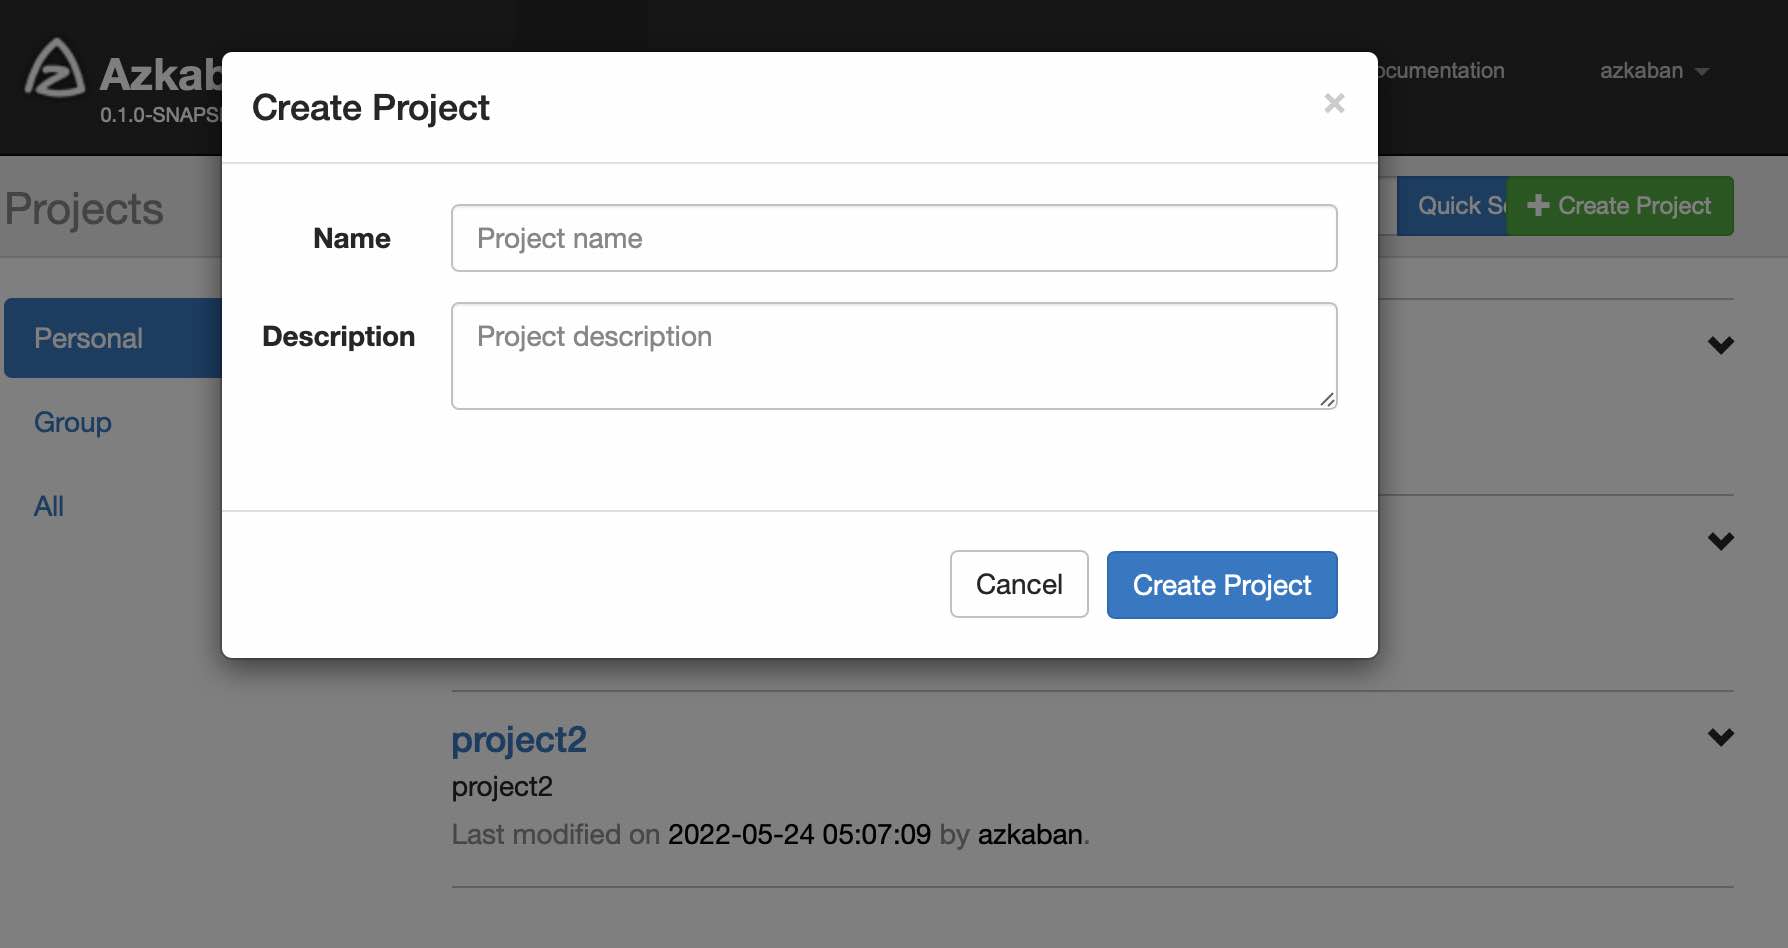
2. Create a project
It’s very easy to create a project in azkaban web UI.
In [Projects] tab, click [Create Project], enter name and description and [Create Project] button to finish the process.
3. Upload the workflow
Create a new folder, you can name it with the project name.
Create a file named flow1.project, in which enter version info:
1
azkaban-flow-version: 2.0
Create a file named job.flow, in which put the following info:
1
2
3
4
5
6
7
8
9
10
11
12
13
14
15
16
17
18
19
20
21
22
23
24
25
26
27
nodes:
  - name: jobA
    type: command
    config:
      command: mkdir /opt/az3

  - name: jobB
    type: command
    dependsOn:
      - jobA
    config:
      command: touch /opt/az3/jobb

  - name: jobC
    type: command
    dependsOn:
      - jobA
    config:
      command: touch /opt/az3/jobc

  - name: jobD
    type: command
    dependsOn:
      - jobB
      - jobC
    config:
      command: touch /opt/az3/jobD
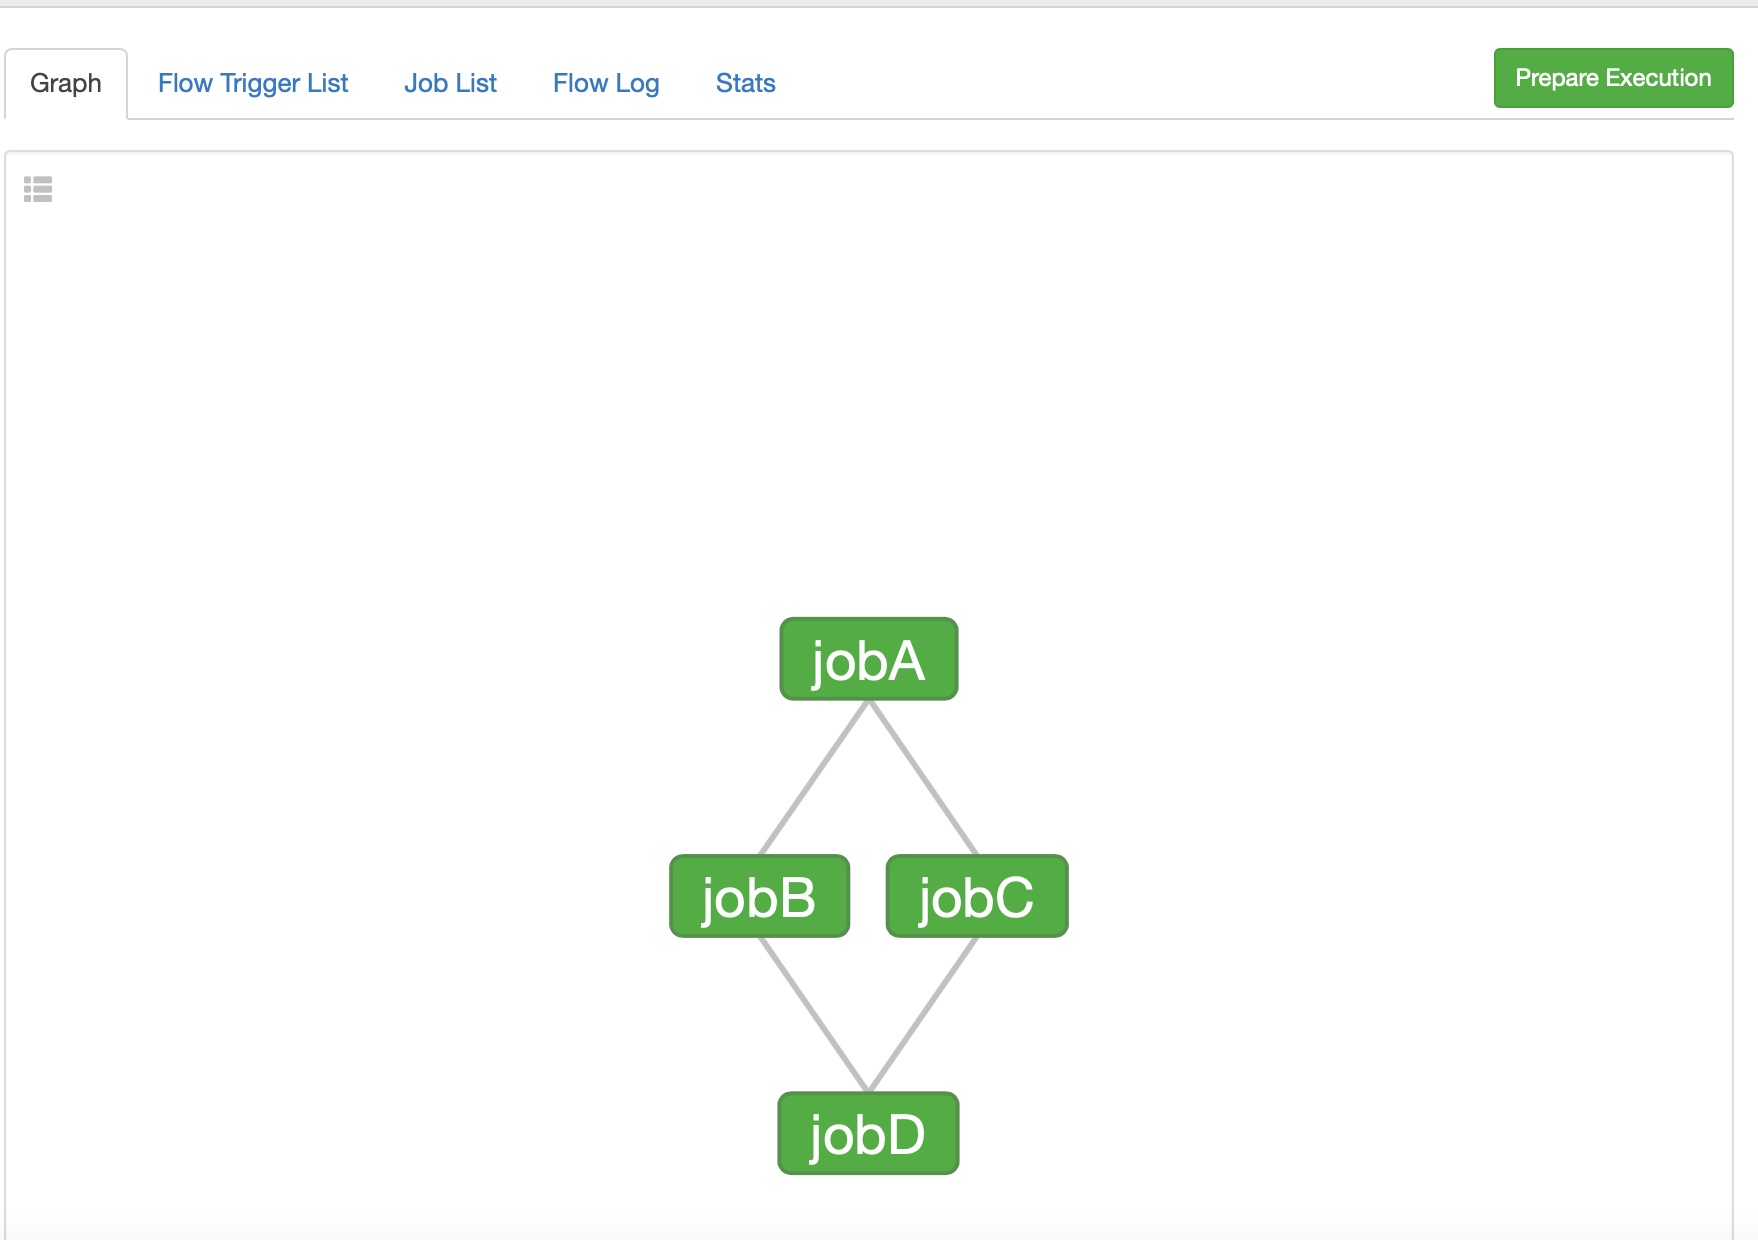
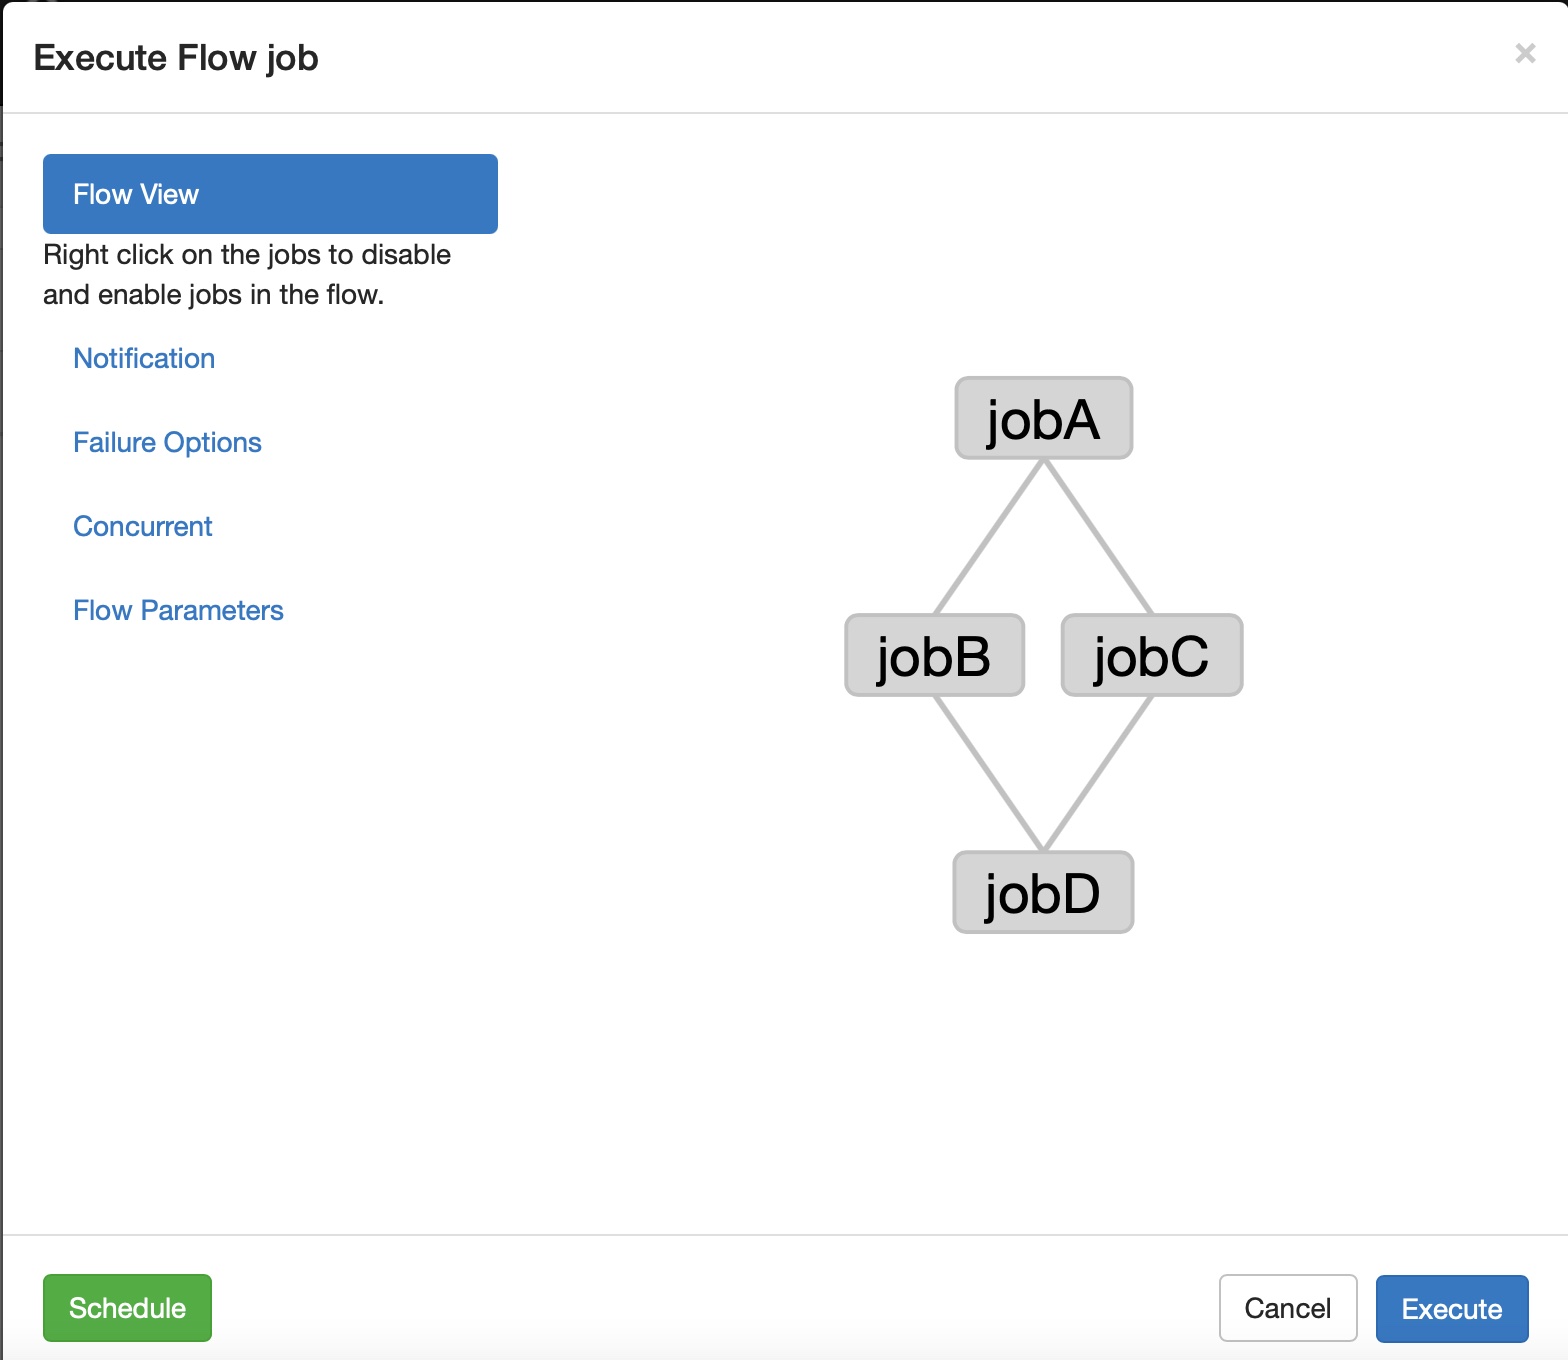
This file defined a workflow with 4 jobs, jobA/jobB/jobC/jobD.
started with jobA, the following 2 jobs jobB/jobC dependent on jobA, and the last job(jobD) dependent on the jobB/jobC.
Compress the two files into a zip.
1
 az $ zip flow.zip job.flow flow1.project
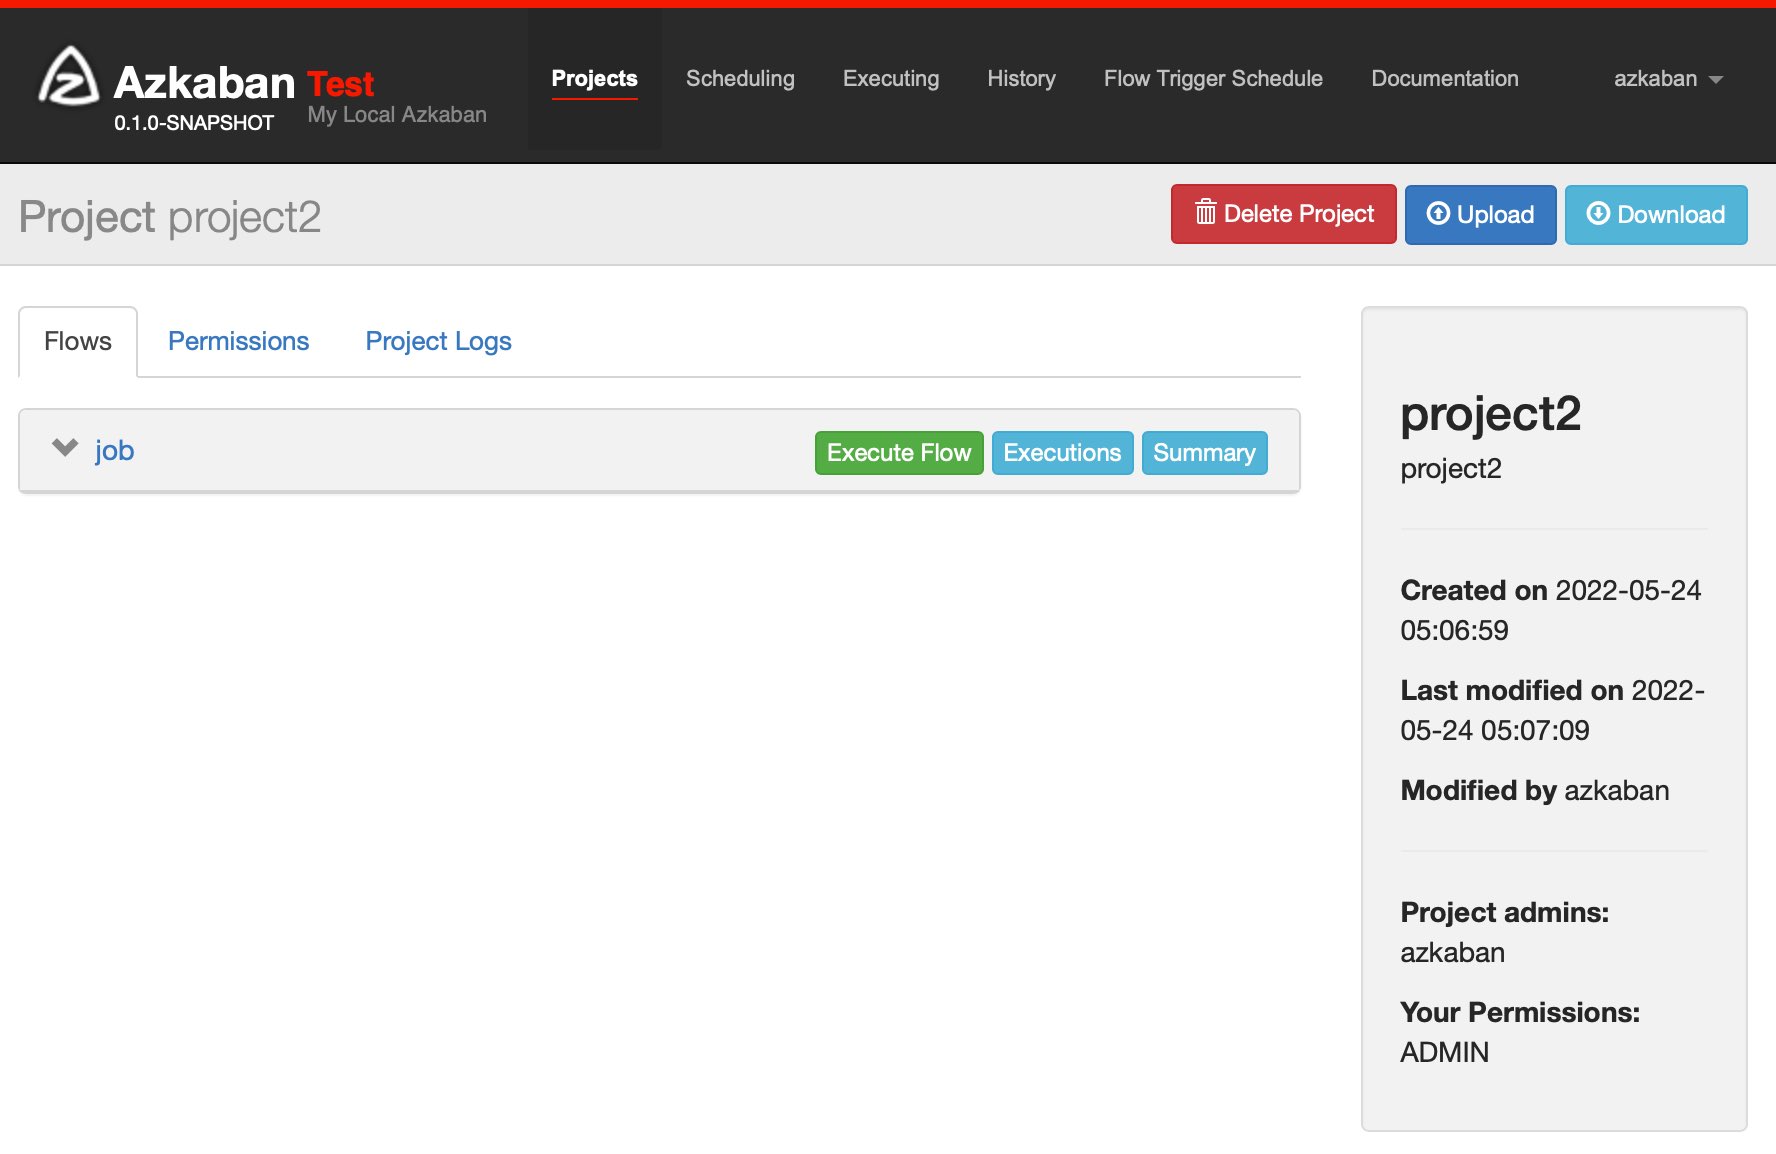
Then, on the project page, click [Upload] button on the right top, select the zip file and upload.
Click [Execute Flow] on the panel,
You can see the workflow graph, click [Execute]
Green nodes mean running success, and red nodes mean fails.